
PITA Installation guide

Table of Contents

Install the Automation (the PITA app).
#

Step 1
#

App Installation step 1
Choose the board where you want to enable PITA. I chose the board "Goals" in this example.

Step 2
#

App Installation step 2
Press on "Automate" in the top bar.

Step 3
#

App Installation step 3
Find the "Integrations" button on the bottom left of the window.

Step 4
#

App Installation step 4
Use the search bar and type in PITA.

Step 5
#

App Installation step 5
Install "PITA Start" (you need admin rights, or just ask the administrator of the account). Then press on the "Enable PITA" template.

Step 6
#

App Installation step 6
Review the permissions available to the app, and press "Authorize".

Step 7
#

App Installation step 7
Click on "Create Automation".

Step 8
#

App Installation step 8
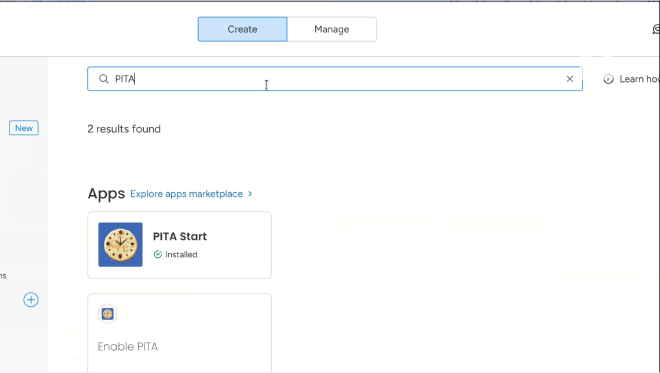
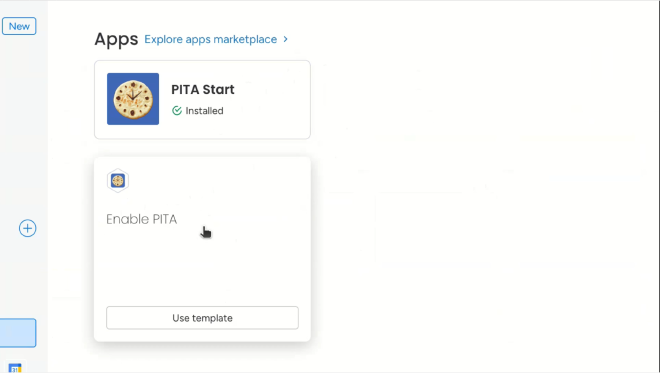
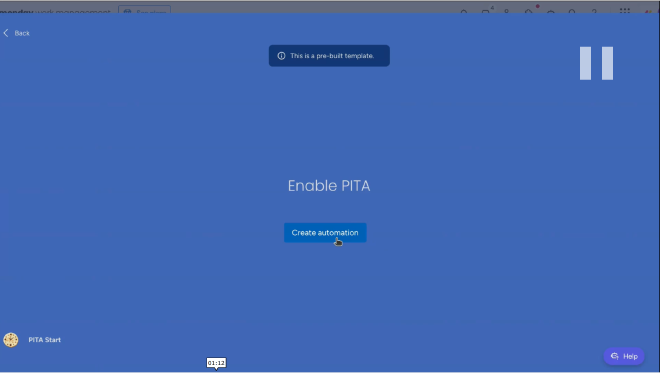
Once the setup is done, you will see two automations, "Enable PITA" and the webhook. They are both necessary for the app to work, if you want to delete the app delete "Enable PITA" - it will remove the webhook.

Step 9
#

App Installation step 9
Close the "Automations" window. You will see the 3 newly created columns.

Step 10
#

App Installation step 10
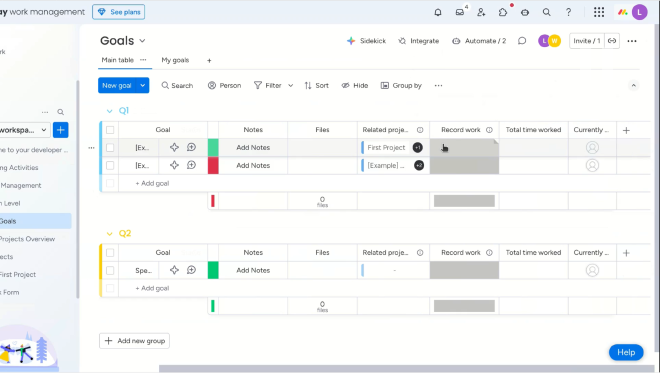
Change the "Record Work" column status to Start/Stop, in order to start or stop recording your work. Once the status changes to gray, the app has successfully recorded the choice. This column works simultaneously for multiple users.

Install the Personal view (PITA View).
#

Step 1
#

View Installation step 1
Press on an item (does not matter which) and open the item view.

Step 2
#

View Installation step 2
Press on the "+" (plus) button and then "Add view".

Step 3
#

View Installation step 3
Press on "Explore more views".

Step 4
#

View Installation step 4
Search for "PITA" and click on "Add to item", the view will be available to all items, on all boards.

Step 5
#

View Installation step 5
Viola! You are done, use the settings button (the cog) to configure working hours, and more (in the future).